

Wireless Network Configuration steps for Windows (TCDwireless teaching and research network)
The following instruction is for those who have not yet configured their Windows computer for the college network. If you haven't already, then start by submitting a network request. Once you have, we'll email you with important configuration information.
Once you have received an email from us
There are 6 steps required to configure your Windows computer to connect to the Trinity data network:
1. Turn on your computer and log in as Local Administrator account
Log on to an account that has administrative rights.
Note: Usually this account is called Administrator but it may have a different name. If an account does not have administrative rights, you will not be able to proceed. The password may be blank. New computers out of the box will log on automatically with the Administrator account as the password will be blank.
2. Connect your computer to TCDwireless
- Press the Windows key + R
- Type Control Panel and click OK
- Ensure View by: in the top right, is set to Category
- Click Network and Internet
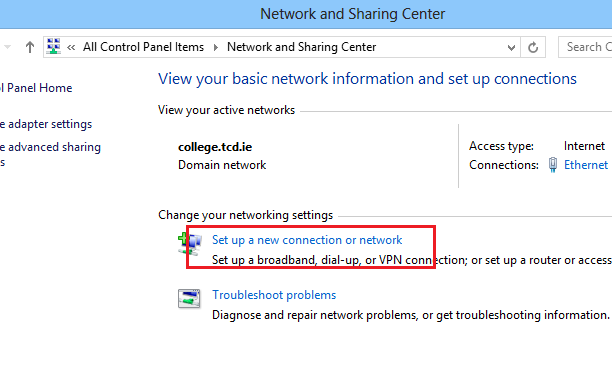
- Click Network and Sharing Centre
- Click Set up a new connection or network
- Click Manually connect to a wireless network, then click Next.
- Enter the following details:
- Network name: TCDwireless
- Security type: Select WPA2-Enterprise.
- Encryption type: Select AES.
- Tick Start this connection automatically
- Tick Connect even if the network is not broadcasting
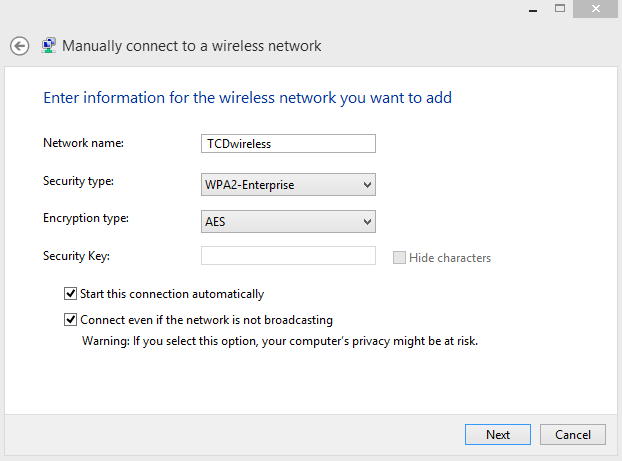
- Click Next
- If you are in range of the wireless network, you will see Successfully added TCDwireless message.
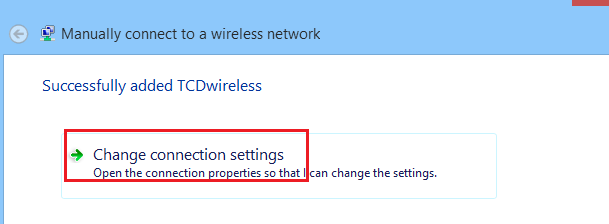
- Click Change connection settings.
- On the Wireless Network properties window, click the Security tab.
- Under Choose a network authentication method, click Settings.
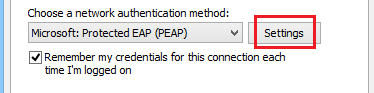
- Deselect Verify the server's identity by validating the certificate check box. Then click Configure under Select Authentication Method.

- On the EAP MSCHAPv2 Properties window, do not select Automatically use my Windows logon name and password.

- Click OK three times to exit the Wireless Network properties.
- TCDwireless should now appear on you available list of networks, Click on it to connect and you will be prompted to enter your college username and password. Once connected you can proceed to Step 3 to rename your computer and join the College domain.
3. Rename your computer and join the college domain
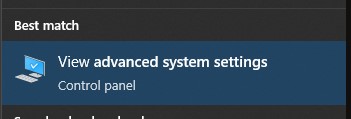
- Using the Search button (magnifying glass) in the bottom of the screen, type Advanced system settings

- Choose View advanced system settings under Best match
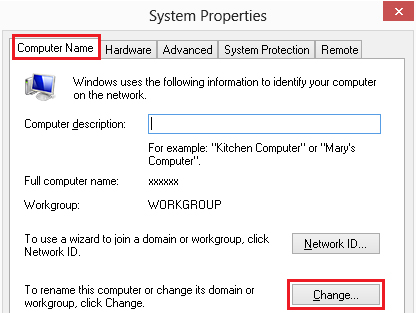
- Click the Computer Name tab, and then click Change.
- In the Computer name box, type the computer name provided by IT Services.
In the Member of section, select Domain, and type college.tcd.ie, then click OK.
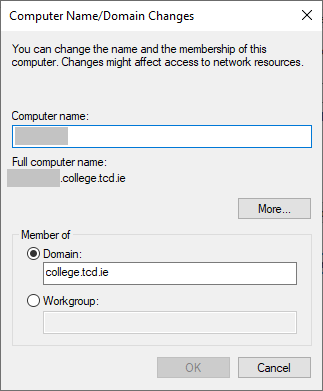
- You will be prompted for your Trinity username and password. Type your username in the form college\username, then type your password and click OK.
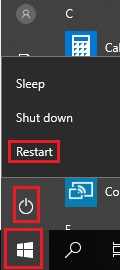
- After a few moments a 'Welcome to the college domain' message will appear. Click OK and select ‘RESTART LATER’ so that you can proceed to the next Step for setting administrative access.
4. Set administrative access and password for Local Administrator account
- Move the cursor to the Start button at the bottom left corner of the screen, right click to display the menu illustrated below and select Computer Management

- In Computer Management window, click the triangle next to Local Users and Groups to expand that list.
- Click Groups.
- On the central panel, right-click Administrators and select Properties.
- Click Add.
- In the Enter the object names to select box, type your Trinity username in the form college\username and click Check Names. You will be prompted for your Trinity credentials. Type college\username and your password, then click OK.
- Add Users to Administrator Group
- Repeat the previous step to add IT Services admin group college\issgroup1. Repeat the previous step to add any other Trinity users that you wish to add as Administrators on the machine.
- Click OK, then click Apply. Keep Computer Management open & proceed to set the local Administrator password as follows…
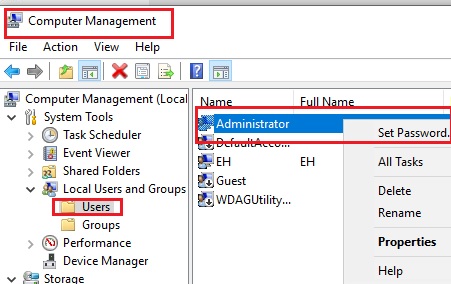
- Click on Users, Right Click on Administrator and choose the option to Set Password
- Close the computer management Window and Restart your computer.
5. Log on to your Trinity profile over a wireless connection
- After restarting your computer and before logging on, connect to TCDwireless first as follows:
- Click on the Wifi Icon at the bottom right of your Windows logon screen.

- Select TCDwireless from the list of network displayed.
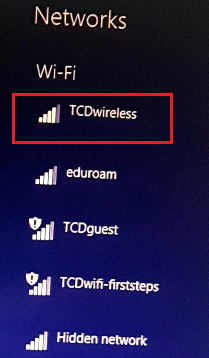
- When prompted enter your College username and password.
- When TCDwireless shows as connected, press Ctrl+Alt+Del, then click OK.
- Click Other User.
Log on with your Trinity username and network login password. You are now logged on to your Trinity profile. Note: Logging on to your Trinity profile is a requirement while you are connected to the Trinity network. It also provides a better user experience and facilitates access to Trinity resources and services.
You can now proceed to Step 6 to ensure that your laptop meets Trinity security policies.
6. Ensure your computer meets Trinity security policies
- Make sure anti-virus software is installed and up to date
- All PCs ordered from the official Trinity suppliers come with McAfee Endpoint Security software installed. You will know if Endpoint Security has been installed, as you will see the Trellix icon in the taskbar at the bottom right corner of the screen.

- If you think you have Endpoint Security installed but you don’t see the Trellix icon, then select the Start button and choose All apps and look for McAfee – Endpoint Security
- If you have a different Anti Virus product installed, you will be required to uninstall it and install McAfee Endpoint Security. Click the anti-virus software link above for more information.
- All PCs ordered from the official Trinity suppliers come with McAfee Endpoint Security software installed. You will know if Endpoint Security has been installed, as you will see the Trellix icon in the taskbar at the bottom right corner of the screen.
- Make sure Microsoft Endpoint Configuration Manager (MECM) Agent is installed.
- To get automatic monthly Windows security updates please follow our instructions for installing the MECM Agent.
- Contact the IT Service Desk to complete the security checks.
- Once you have performed the above tasks please contact the IT Service Desk at ext. 2000 and quote your ticket number. The IT Service Desk personnel will go through some further security checks before closing your request.
(Optional) Arrange data transfer with the IT Service Desk
If you wish to transfer data from another PC to your newly connected PC please see our web page on data transfer between two PCs on the Trinity network or, if you require assistance, contact the IT Service Desk.