BitLocker To Go - Encryption for Portable USB drives
Using small, portable USB drives, while extremely useful, can increase the potential for sensitive data being lost or stolen. How can you protect Trinity data from loss or theft? The answer: BitLocker To Go.
BitLocker To Go is not suitable for encryption of laptop or desktop hard drives and is only available on Windows devices. Please note that there is no support for this service through the IT Service Desk.
Instructions for enabling BitLocker to Go on your USB drive or external hard drive
- Insert and browse to the USB flash drive. Always back up all data on the drive before encrypting it!
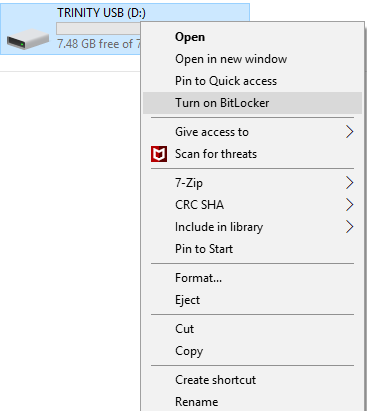
- Right-click on the USB flash drive or external hard drive and click on “Turn on BitLocker”
- On the “Choose how you want to unlock this drive” window, select “Use a password to unlock the drive”
- This option prompts the user for a password to unlock the drive. Passwords allow a drive to be unlocked in any location and to be shared with other people.
- The minimum password length is 8 characters and IT Services recommend a combination of letters, symbols and numbers as well as a variety of upper and lower case characters.
Caution: IT Services will not have a copy of your password – If you forget your password you will have to use the recovery key to access your data (outlined in step 4).
- On the “How do you want to back up your recovery key?” window, click the “Save to a file” option. The recovery key is a .txt file and will be named in the following format by default: “BitLocker Recovery Key XXXXXXXXX-XXXX-XXXX-XXXX-XXXXXXXXXXXX”. The X’s will be replaced by a unique alpha numerical identifier specific to your drive.

- You will then be prompted to select a save location. Once you have selected a save location the message “Your Recovery Key has been saved” will appear in the dialog box and you can now click “Next” to continue.
Note - You can also print the recovery key if you desire, by opening your saved recovery key and printing. With this recovery key file you can regain access to your encrypted USB flash drive or external hard drive in the event you ever forget your password.
Caution - Please remember that the recovery key is your only method of accessing data stored on your drive if you forget your password. When saving it, ensure that the location of the file is secure and can only be accessed by you and anyone you authorise. IT Services will not have a copy of your recovery key.
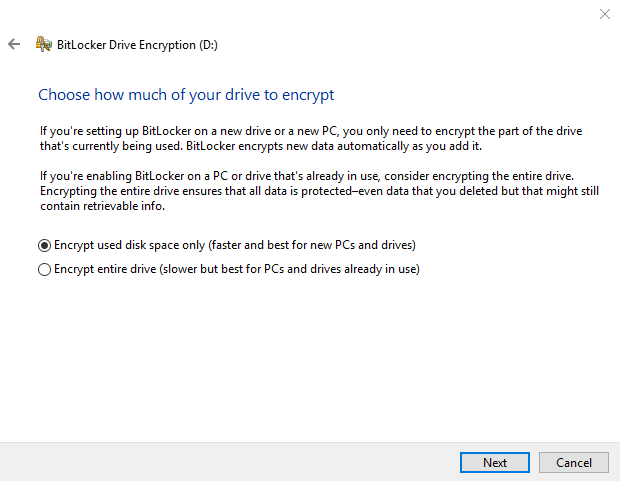
- Choose how you want to encrypt the drive. If you are using a new empty drive, select “Encrypt used disk space only”. If you are using a drive with data, select “Encrypt entire drive”. Then click “Next”.
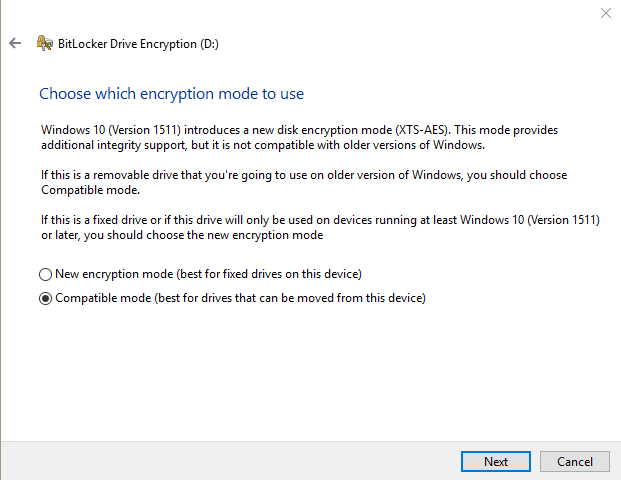
- Next, select the encryption mode. If you will use the encrypted drive on older versions of Windows, select “Compatible mode”. If you will only use the drive on Windows 11 machine, select “New encryption mode” which is a better encryption method. Then click “Next”.
- Click “Start Encrypting” when ready.
- The encryption process may take some time, depending on various factors including the speed of the storage device, performance of the PC, etc. (Microsoft estimates the encryption speed to be around 500MB/min). Interrupting the process may result in data corruption/loss.
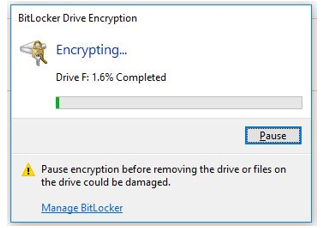
- Click “Close” when the encryption is completed.
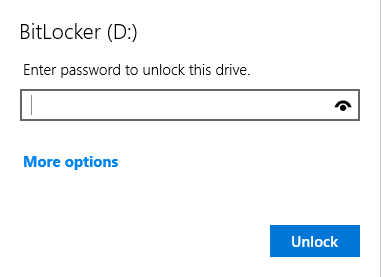
The next time you connect your encrypted drive to a computer, you will need to enter your password to unlock the drive.
Using your Recovery Key to unlock the drive
In case you have forgotten your unlock password or cannot access the encrypted drive for whatever reason, you can unlock the drive by using the recovery key.
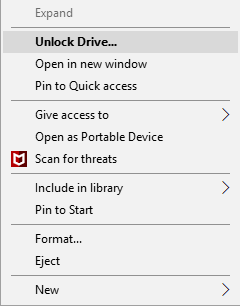
- Right-click the encrypted drive from file explorer, then click “Unlock Drive”.
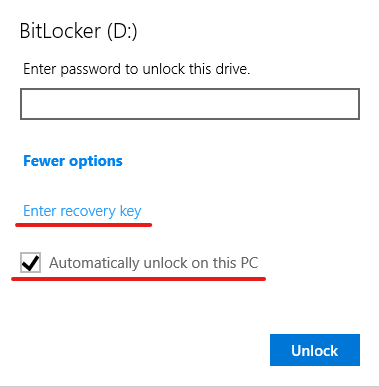
- Select “More options” in the pop up window.
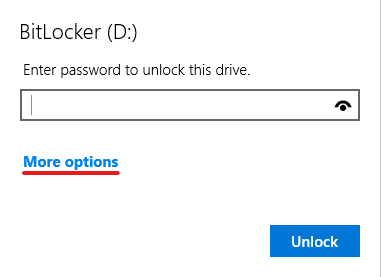
- Make sure “Automatically unlock on this PC” is checked and click “Enter recovery key”.
- Paste or type in your recovery key and click “Unlock”.
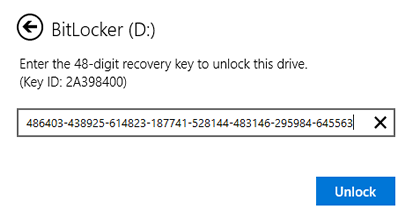
- The Drive is now unlocked.
Changing your Unlock Password
If you want to change the unlock password on your encrypted drive please follow the steps outlined below.
- Unlock your encrypted drive with the current password.
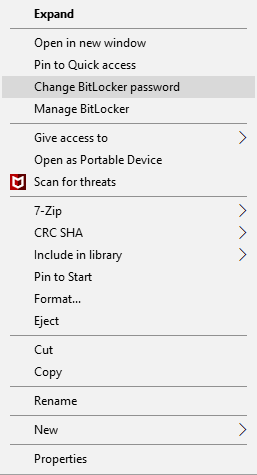
- Right-click the drive from file explorer, then select the “Change BitLocker password” option.
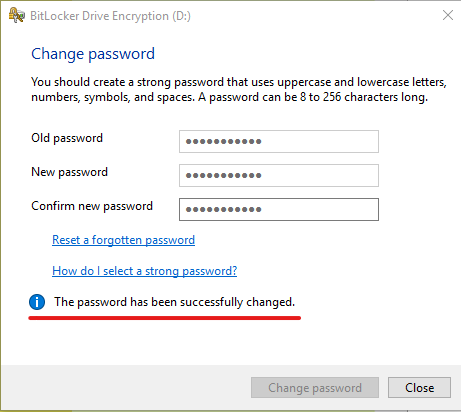
- Type in your old password and then a new password and re-type it to confirm. Then click “Change password”.
- The password has been successfully changed. Click “Close”.
Removing Encryption from a USB drive or external hard drive
If you decide to remove the encryption from a USB or external drive, you can do so by following the steps below.
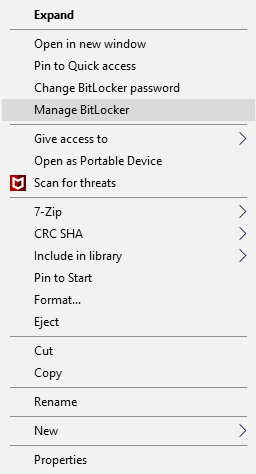
- Unlock your encrypted drive with the current password and right-click the drive from file explorer, then select the “Manage BitLocker” option.
- Locate your USB in the removable data drives section and select the “Turn off BitLocker” option.

- Click on the “Turn off BitLocker” button.
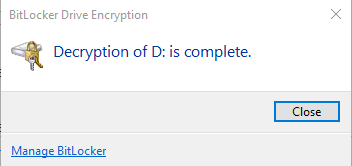
- Your drive is now decrypted and ready for use. Click “Close”.