

Upgrading to the latest supported version of Windows 11
The information on this page is relevant for Windows computers connected to the wired network in Trinity offices and labs or the Staff Wi-Fi service.
Preparation Steps
1. Backup your Data
Backup any data on your PC to removable media such as an external hard drive and/or to cloud storage such as your OneDrive folder or relevant departmental network storage. You should create backup copies of anything you have saved onto your PC such as Word documents, PDF files, PowerPoint presentations, image files, video files and audio files.
If you need some advice on what files to backup, please contact the IT Service Desk.
2. Hard Drive Space
Check that you have enough hard-drive space available to carry out the upgrade. The minimum required free hard drive space is 10GB, but it is best if you have at least 20GB free.
To see how much hard-drive space is available, click the Start button, type 'File Explorer' and hit Enter. From the left-hand menu, click on 'This PC'. Make a note of the stated amount of free capacity for Local Disk (C:).
If you need to make more hard-drive space available then you should move large data files to cloud storage, such as OneDrive, and to external storage media such as an external hard drive.
You can also consider uninstalling unused applications under Start > Settings > Apps.
If you need further advice, please contact the IT Service Desk.
3. Compatibility Checks
The Windows 11 installation performs a hardware and software compatibility check prior to initiating. If it reports a problem running the upgrade because of this then contact the IT Service Desk at ext. 2000 (01 8962000) and we can advise.
- If there is a software incompatibility then we may be able to assist in upgrading that software or advise on the best course of action.
- If there is a hardware incompatibility then disconnect any non-essential peripherals from your PC, including external USB hard drives, flash drives, SD cards, Bluetooth devices, printers and scanners. During the upgrade process, a keyboard and mouse, monitor, and an internet connection are all you need.
4. Administrator Privileges
Make sure your account is set as an Administrator for the computer.
5. Edition of Windows 11
Check whether you are currently running Windows 11 Pro or Windows 11 Education, as you will need to choose during the upgrade. To check:
- Click the Start button, type 'winver' and hit Return. At the start of the main paragraph of information, approximately the fourth line, it will list if you are running Windows 11 Pro or Windows 11 Education.
6. Put Aside Enough Time
The installation process can take some time, anything from 1 hour upwards, so plan accordingly.
Upgrade Steps
To follow these upgrade steps, you will need access to any Windows 11 PC which is connected to the College network or staff VPN service, to obtain the installation files.
If you are notified of specific issues, during the below steps, and you need assistance in resolving them, then please contact the IT Service Desk.
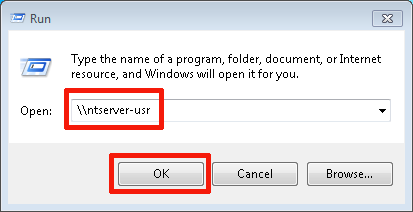
- First you will need to obtain the installation files. From any Windows PC connected to the College network or Staff VPN service, click the Start button and choose Run.
- Type \\ntserver-usr and click OK.
- From the list of folders displayed, double-click PCSoftware, then double-click Windows OS.
- Copy and paste the folder Windows-11-25H2 to the Desktop of the PC that needs to be upgraded to the latest supported version of Windows 11. If you are obtaining these files from another PC, then you will need to use a USB key or external hard drive to copy the files to the PC that needs upgrading.
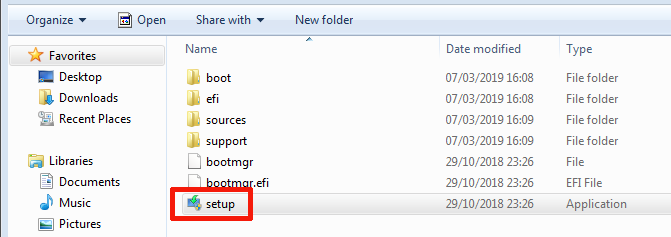
- Open the Windows-11-25H2 folder that you copied over in Step 4, and double-click setup (this may appear listed as setup.exe). This will begin the installation process.
- After a moment you will be presented with a 'Windows 11 Setup' window, with the heading 'Install Windows 11'. Just below this, click the link for Change how Windows Setup downloads updates.
- When prompted regarding 'Get updates, drivers and optional features' choose Not right now and click Next. You will then see the message 'Checking your PC'.
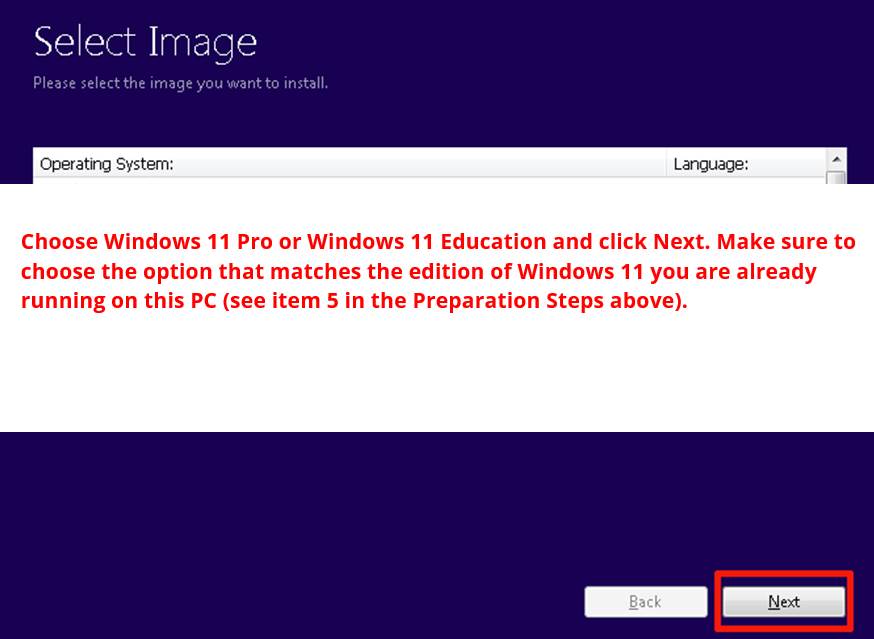
- If prompted to Select Image then choose Windows 11 Pro or Windows 11 Education and click Next. Make sure to choose the option that matches the edition of Windows 11 you are already running on this PC (see item 5 in the Preparation Steps above).
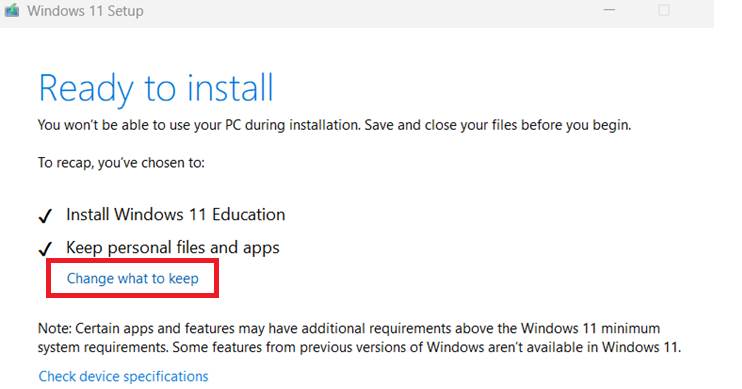
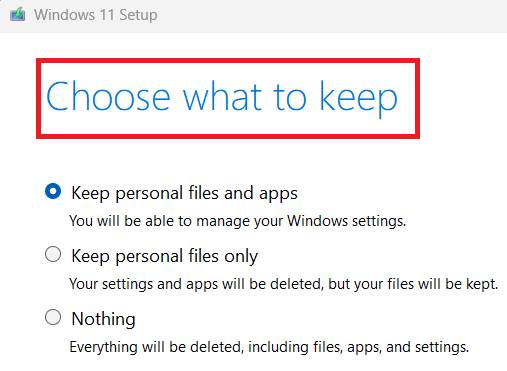
- When the ‘Ready to install’ screen appears, you can ‘Change what you keep’ if you wish:
- If the option to ‘Keep personal files and apps’ is greyed out, please contact the IT Service Desk.
- The 'Applicable notices and licence terms' are displayed, choose Accept to proceed.
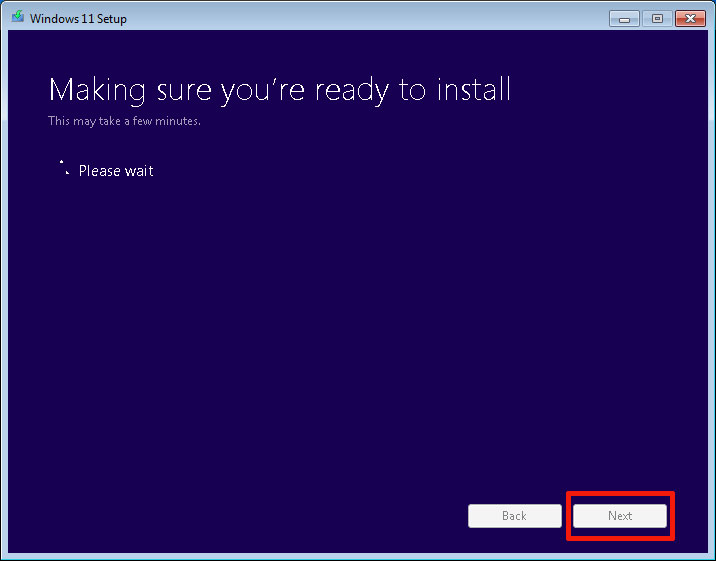
- You will then see a screen titled 'Making sure you're ready to install' which checks for the compatibility of software applications installed on your PC. If no issues are identified then click Next once this process has completed.
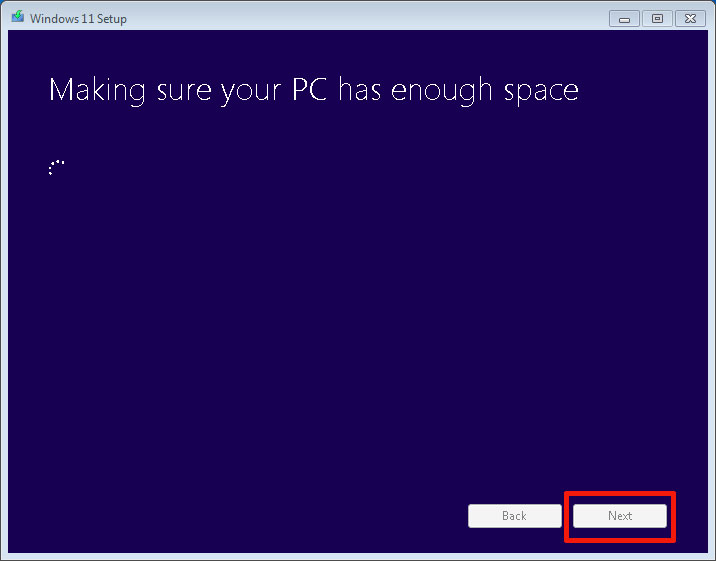
- The next stage checks that your PC has enough free hard drive space to complete the installation. If no issues are identified then click Next once this process has completed.
- If no issues have been identified, you should see the screen below outlining that Windows 11 is Ready to install. You will not be able to use the PC while this stage of the process is underway, and it can take an hour or more to complete, with the PC restarting a number of times. Once you are ready to proceed, click Install.
- Once the installation is complete, the PC will restart and bring you to the Windows 11 login screen where you should be able to login with your College username and password as normal. All your previously available applications should be operational and your data files should be located in the same place.