

Offices and Labs - Network printing - Windows
To connect to a network printer you must know the 'printer name' of the printer you are connecting to. This can be obtained from a configuration sheet printout from the printer and is provided by IT Services after you have submitted the network request for the printer. Once you have determined the 'printer name' follow these steps:
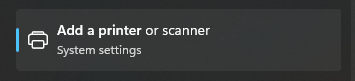
- Using the Search button (magnifying glass) in the bottom of the screen, type Add a printer

- Choose Add a printer or scanner under Best match
- Next to the Add a printer or scanner tile, click Add device

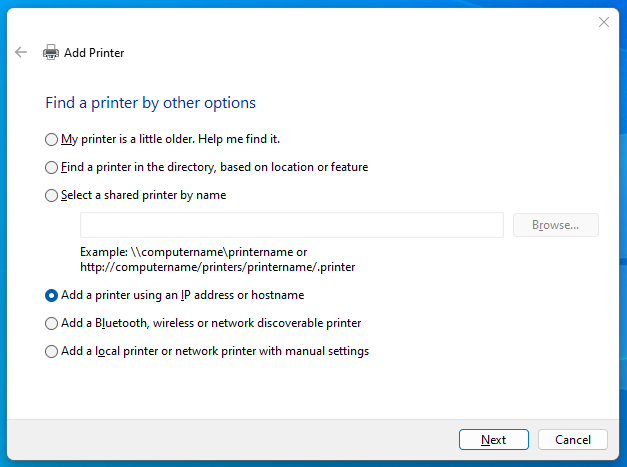
- Find the The printer that I want isn't listed tile and click Add manually. You may have to scroll to the bottom of the list of printers to see this tile

- Select Add a printer using an IP address or hostname radio button, then click Next.
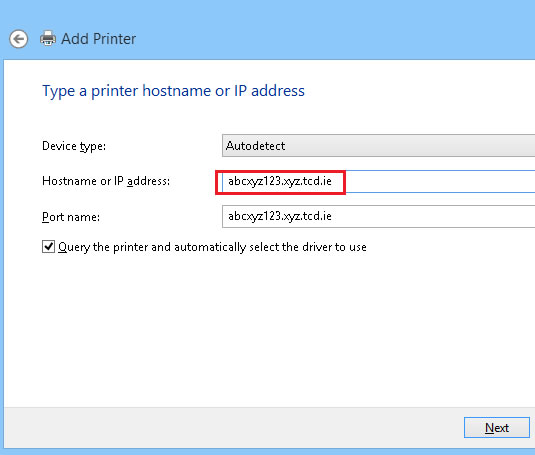
- Under the Device type dropdown, choose Autodetect. Type the full printer hostname assigned to the printer, as provided by IT Services, then click Next
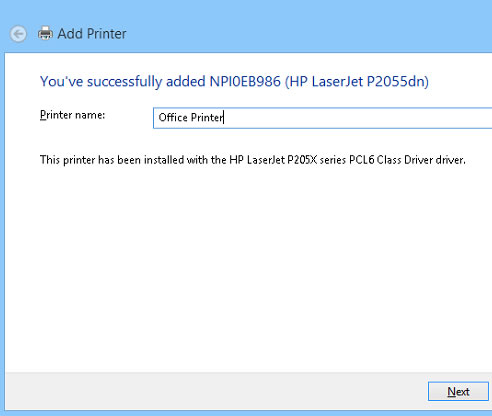
- After a few moments you should see a success pane where you can specify a name for the printer, e.g. Office Printer or Upstairs Printer. Type your printername in the box. Click Next
- If prompted for which version of the driver do you want to use, select Use the driver that is currently installed (recommended) – this will work in most cases. Click Next
- The printer will then be installed. Once the pane appears advising you the installation was successful, you can choose to print a test page and click Finish
- You can choose to set the printer as the default printer if you wish