/filters:format(webp)/filters:quality(100)/prod01/channel_3/media/tcd/itservices/images/news/sharepoint-tips-save-a-view.png)
This is how you do it.
- Arrange your view to your liking, for example:
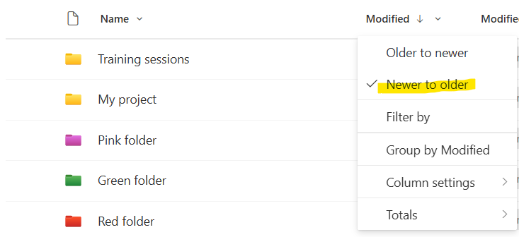
- Sort your files from newer to older by clicking on the Modified column and selecting “Newer to older”.
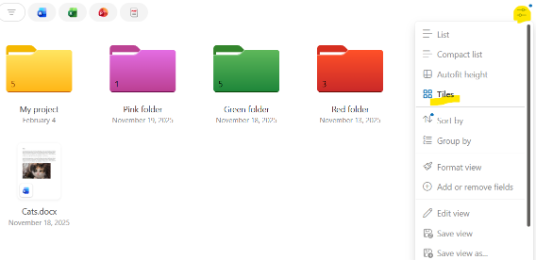
- Change from list view to tile view by going to “Options”, then clicking “Tiles”.
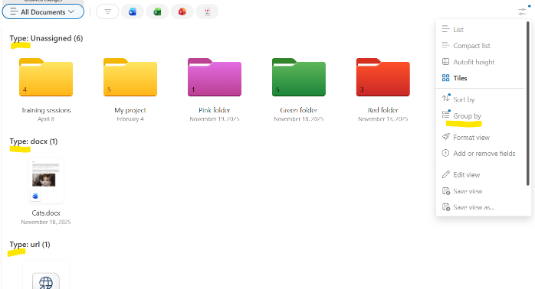
- Group your files by going to “Options”, then “Group by”, and select “Type”.
- Sort your files from newer to older by clicking on the Modified column and selecting “Newer to older”.
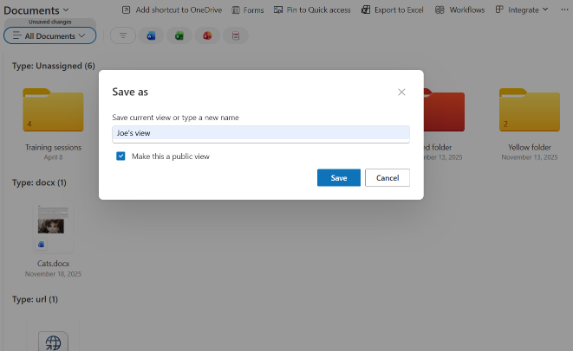
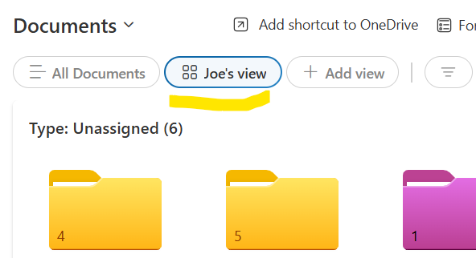
- Once you are happy with your view, save the view by going to “Options”, then “Save view as”, and give it a name, e.g. Joe’s view. (If you want to make the view available to all members of the SharePoint site, leave the “Make this a public view” option ticked, if it’s just for yourself, untick this box.
- You can now access your view with one click from the top of your document library.
- That’s it!
If you’re curious about next week’s tip, check back then!