/filters:format(webp)/filters:quality(100)/prod01/channel_3/media/tcd/itservices/images/news/sharepoint-tips-version-history.png)
This is how it works:
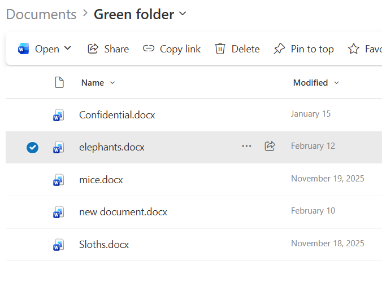
- In SharePoint, open the relevant file by clicking into it (for example a Word document).
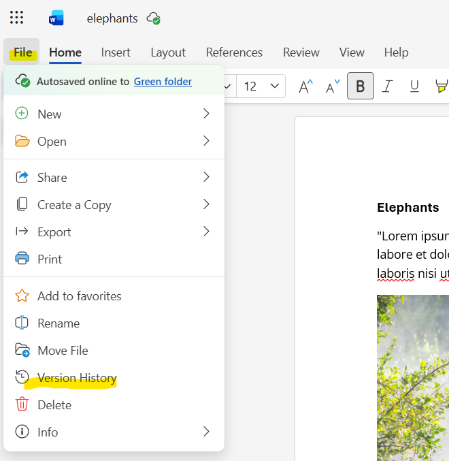
- Go to File, then Version History.
- Pick a Version of your file that you want to restore from the right-hand side pop-up window (You’ll be able to see all edits made in the document as you click through the options), and click the Restore button above the file. The version you picked will now become the new current version.
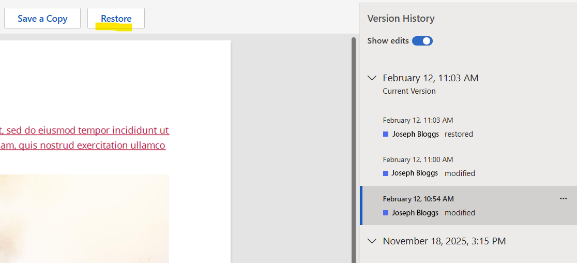
- That’s it!
Check back next week for more SharePoint tips and tricks!