/filters:format(webp)/filters:quality(100)/prod01/channel_3/media/tcd/itservices/images/news/Images-for-T4-newsitems.png)
This is how you do it:
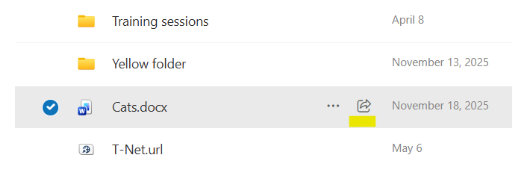
- Select the file and click on the Share icon
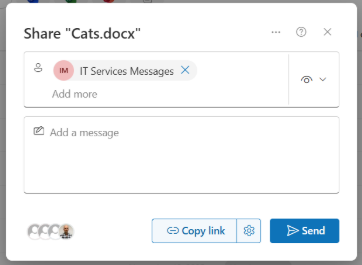
- Start typing the staff member’s name in the “Add a name, group, or email” search field, and select the relevant staff member.
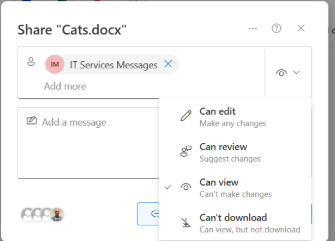
- Define the level of access the person should have by selecting it from the drop-down on the right-hand side of the window.
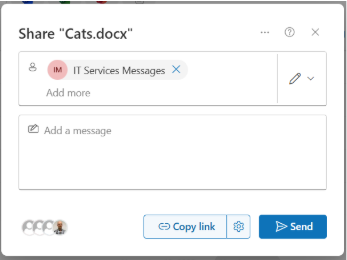
- Click the “Send” button to send a notification to the person who will now have access to your file. If you wish, you can also add a message in the message field which the recipient will receive with their notification email.
- That’s it!
Please note: If you want to share your file with a person not working in Trinity, you can add their email address to the “Add a name, group, or email” field to share the file externally (step 2 above).
For the next few weeks, we will share some quick tricks for simple tasks you can perform in SharePoint to make your life a bit easier. Check back again next week for more tips!