Final checks for your Module
When you have successfully migrated your Blackboard Original Module and are happy with the layout of your content, this guide outlines essential steps to ensure your module is fully prepared for the new Academic year.
This page will give you an overview of the following steps:
-
Use Student Preview & Navigating Modules
-
Class Register: Are Your Students & Staff Enrolled?
-
Module Settings
-
Module Availability
-
Recently Updated - Switch on Progress Tracking
-
How to set up your Module Banner
-
Third-Party Tools
-
Check the Gradebook to ensure ‘Automatic Zeros’ is not switched on.
-
Batch Edit
1. Use Student Preview & Navigating Modules
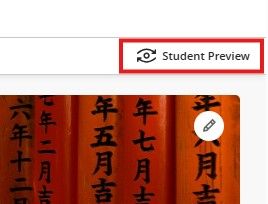
It is good practice to double-check your Blackboard module using Student Preview mode to ensure that the content you want your students to see is visible and that the content you don't want them to see is hidden.
To view or test your content, click Student Preview located at the top right corner of the page. This will launch the module into Student Preview mode.
Click an item like a folder or an Ultra document in the learning topic, use the arrows (at the top right /left) to navigate and view the module content.
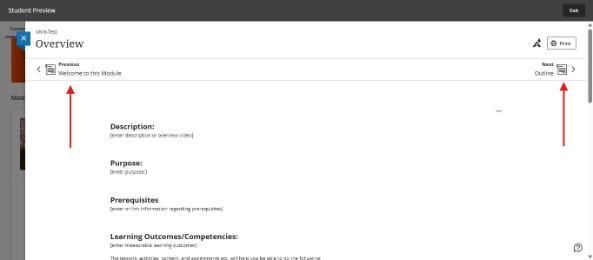
To exit Student Preview, click the student icon in the top right corner and select Exit Preview.
Click to Learn more about Navigating Modules
2. Class Register: Are Your Students & Staff Enrolled?
Student Enrolment: Student enrolments in Blackboard are automated and based on their SITS (my.tcd.ie) student record; however, it's always good to double-check. All students wishing to access Blackboard must first be set up and registered for a course in the Student System (SITS). Do not manually enrol students who are taking your module for credit directly via Blackboard. Instead, if a student is not enrolled in your module, check with your school administrator to ensure their student record is correct.
Staff Enrolment: Academics and teaching staff, please check with your school office to ensure you are timetabled for the modules in CMIS (the College timetable system). You will be automatically enrolled in the corresponding Blackboard modules for 2025/26. Administrative staff who require access can complete the form on the IT Services website. Changes to enrolment creation typically occur overnight.
Another option, if you are an Instructor on the Module to add a staff member
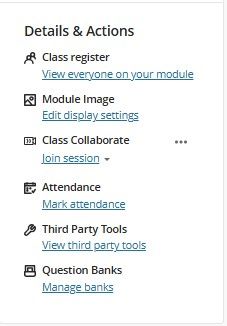
1. Click Class Register under Details and Actions.
2. Click the + sign at the top right of the screen.
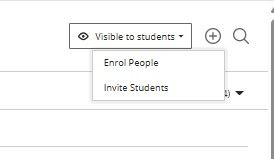
3. In the Enrol People screen, start typing in a name. When a staff member's name appears, click the + next to their name to add them to the register.
4. Then select a role from the drop-down box.
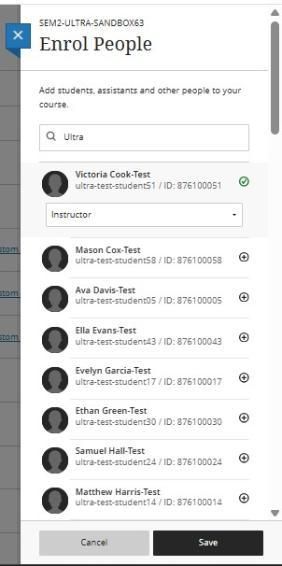
5. Select Save.
To view information on particular users, click the three dots (the ellipsis) on the far right and select member information.
Setting a Primary Instructor
This may be a good time to add a Primary Instructor to your module (typically the Module Co-Ordinator). This helps students identify the module leader from the class register more easily. Note that a Primary Instructor has no other privileges.
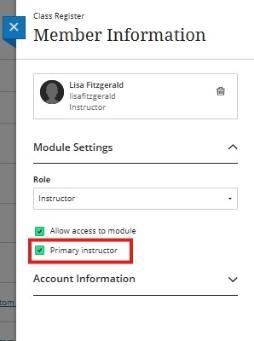
Removing Staff from a Module
To remove a staff member from a module, click on the Allow Access to Module option within the member's information.
Click to Learn more about Class Register
3. Module Settings
In the Module Tools section, set the Class Register visibility to students. This class registration setting allows students to view all users (teaching staff and students) enrolled in the module. This function is turned on by default. To hide this information from students, toggle the class roster button to off here.
Select the Message Options to Allow course messages. When turned off, messages will be sent via email only.
Class Collaborate provides the virtual classroom setting. This can be left on. However, if you know you will not use Collaborate for any online sessions, we recommend turning it off, as it makes the module a little cleaner for your students.
Student Visibility controls whether unenrolled students are visible in certain areas of the gradebook. We recommend toggling this on to make your gradebook cleaner.
Progress Tracking: This feature allows you and your students to view tasks that have been started, completed, or not interacted with. You can choose whether to enable or disable progress tracking.
The final option is Mastery Gradebook Visibility settings, which is not used in Trinity College Dublin.
Click to Learn more about Module Settings
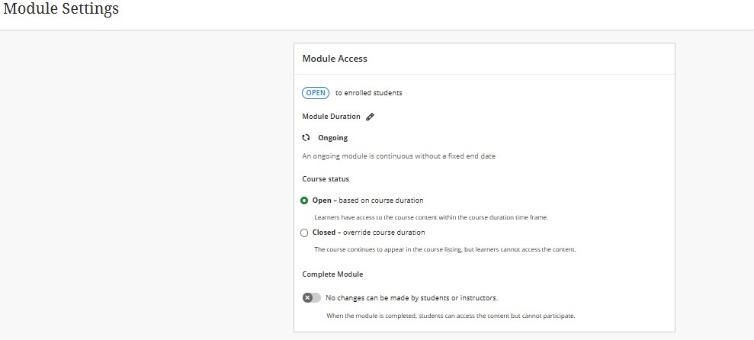
4. Module Availability
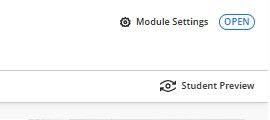
Finally, you can manage Module Availability access on the Module Settings page to ensure the module is open to students. If not, click the settings cog and ensure this option is selected.
Other options within the Module settings include:
- Close: When you mark a module as closed, it remains in the module listing, but students cannot access it. When Close is not selected, the module is Open, and students can access it.
- Complete Module: When the module is completed, students can access the content but cannot participate. Additionally, you can no longer make any changes once a module is completed.
5. Recently Updated - Switch on Progress Tracking
Before teaching begins, enable Progress Tracking in Module Settings to track individual student progress within the module. You can see completed and uncompleted tasks for each student. You can access the tab by selecting Progress in a student's Student Overview.
Visit the "Student Overview" topic to learn more about the Student Overview and ways to access it.
When enabled, your students can see their progress in the module. All content displays an icon showing a student's progress. When all content in a folder or module is complete, the folder or module is automatically marked complete.
Click to Learn more about Progress Tracking
6. How to set up your Module Banner
Before the beginning of the academic year, there are some things you should do to set up your modules.
The Module Banner is the area at the top of the module content. It may contain an image duplicated on the module grid view in the base navigation. This image may help students locate and identify a specific module.
There are three ways to access the course banner options panel.
1. In your module, go to Module in the Details & Actions menu on the right-hand side.
2. In the grid view of Learn's base navigation, hover over the image and select the three dots that appear. You can now select Edit image from the menu.
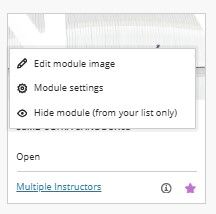
3. On the main page of your module, select the pencil icon on the banner.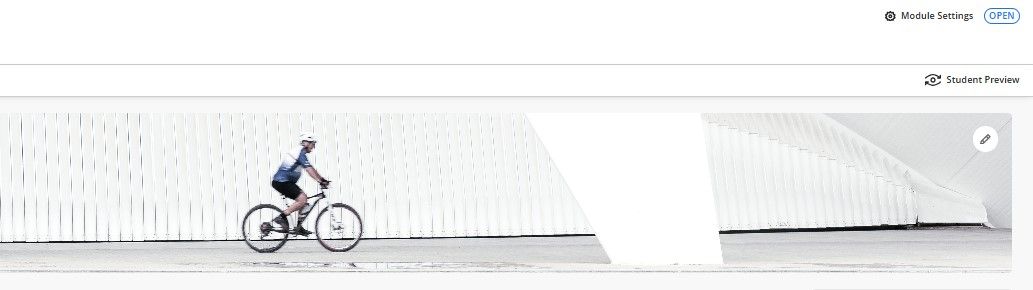
To Add a Module Banner
You can now search Unsplash, a large repository of royalty-free images, which is now included in Learn Ultra. In addition to uploading an image of your own, subject to size conditions, you can now search Unsplash.
- Click the Module Image menu item in Details & Actions to open a side panel on the right side of the screen.
- Click Insert Image to open the drop-down list; you will see two options. (1) Upload from your device and (2) Stock Images from Unsplash
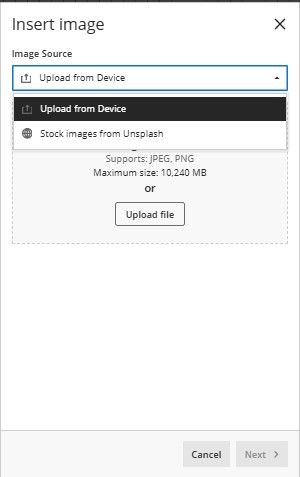
- A preview of the image appears. Select Next to continue. To cancel the upload, select the trash icon.
- Position the image. You can adjust the zoom of the image using a slider and select and drag which parts of the image become the course banner. Select and save to continue.
- Your module banner is automatically turned on. To turn it off, select the Module Banner slider.
- Module Banners are automatically marked as decorative, which hides the banner for students using assistive technologies. Select Mark the image as decorative.
- If you want all students to know the image's content, deselect "Mark the image as decorative" and enter a description of the image in the Alternative text field.
- Select Save to enable the banner for your module.
Click to Learn more about Module Banners
7. Third-Party Tools
Under Details and Actions on the right-hand side of the screen, you will find a link to Third Party Tools. The window that opens lists available tools, including Blackboard Ally, MyReadingList (Talis Aspire), Panopto, Turnitin, and Grades Journey.

Check Your Reading List
If you haven't already, ensure you link to your MyReadingList. Go to Third Party Tools
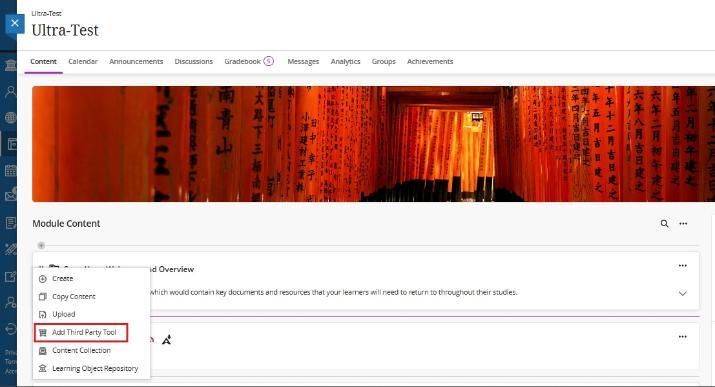
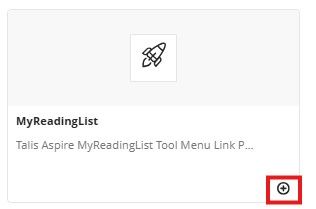
If you don't have a link to your reading list in your course, click the + icon anywhere in your main module content, select Add Third-Party Tool, and choose MyReadingList.
8. Check Gradebook to ensure Automatic Zeros is not switched on.
Automatic Zeros is a feature in Blackboard Ultra that automatically assigns a mark of 0 to any assignment whose due date has passed and the student has not submitted.
This may be problematic after rollover, and if you do not adjust dates for assignments & tests, all students will receive an automatic zero if this option is enabled.
To ensure that the Automatic Zeros are off:
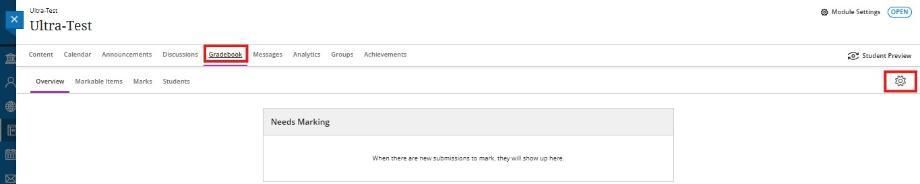
- Select Gradebook located on the top navigation of your module
- Click on the settings cog on the right-hand side of the screen
- Scroll down to Automatic Zeros to ensure the option is not ticked and green.

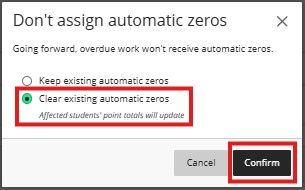
- It is possible to clear the automatic zeros. Please note: Clearing automatic zeros will only remove zeros that were assigned automatically to non-submitters; it will not clear any marks of 0 that you awarded as the marker. If Automatic Zero is ticked, please untick it and select the following option.
9. Batch Edit
Content management is a time-consuming part of module setup and maintenance. Instructors spend valuable time carefully organising content and assessments, with specific due dates and release conditions.
You can use Batch Edit to update common settings across all content, such as visibility and due dates. You can also use the tool to delete a group of selected course content. With Batch Edit, you can manage content settings in one place, all at once.
On the Module Content page, open the three-dot menu above the content list on the right. Select Batch Edit.

On the Batch Edit page, select the check box next to the items you want to update. You can choose individual content items, folders, and learning modules. To select all items at once, select the check box in the header at the top. You can select a maximum of 100 items at once. Items with long names are truncated.
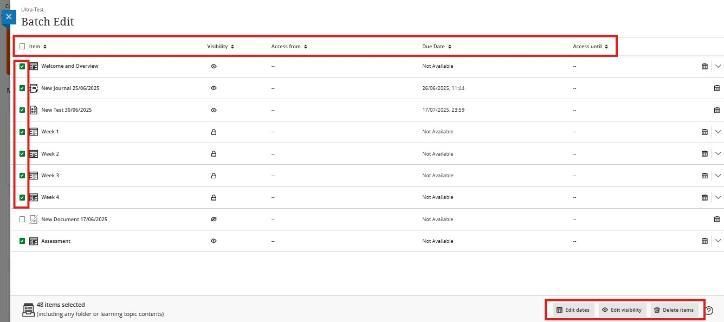
Edit dates
You can use Batch Edit to adjust due dates on items. Only items with dates will be adjusted. Select Edit dates at the bottom of the page.
You have four options for editing dates:
- Change dates by number of days
- Change dates based on the start date
- Change to a specific date and/or time
- Change the individual item date
Edit visibility
You can use Batch Edit to hide or show items to students. Select Edit visibility. Choose whether to make items visible or hidden to students. Previous visibility settings for the items are overwritten. Date- and time-release conditions are removed for all selected items.
Delete items
You can use Batch Edit to delete items from the Course Content page. Select Delete items.
Click to Learn more about Batch Edit